I accidentally figured out how to curl my hair with my straightener when I went a little crazy trying to flip it out once, but it was a mistake that became a style I wear on a regular basis. When I use a curling iron, my hair usually falls into soft waves. In this style, the loose curls hold for much longer, and I don't even need to use hairspray. It's a lot easier than it looks, and it's faster for me than using a curling iron. All it takes is just takes a few easy steps!
Before you start: This technique works best when done with a 1-inch flat iron. I use this one, if you're curious. This style can be done on any hair type, dried naturally or with a blow dryer.
Step 1: Divide hair and take a .5 to 1-inch strand to style.
Step 2: Clamp hair in the flat iron as if straightening it. Drag down piece of hair until you reach the point that you want the strand to start curling.
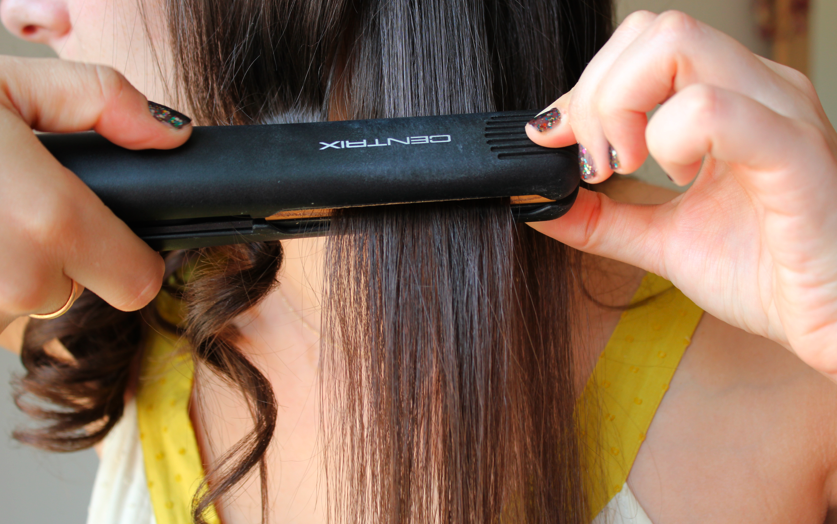
Step 3: While still clamped, take the flat iron and flip it 180º at the point you want the curl to start.
Step 4: Continue to drag iron down strand of hair with the straightener still flipped all the way down the entire strand.
Step 4: Continue to drag iron down strand of hair with the straightener still flipped all the way down the entire strand.
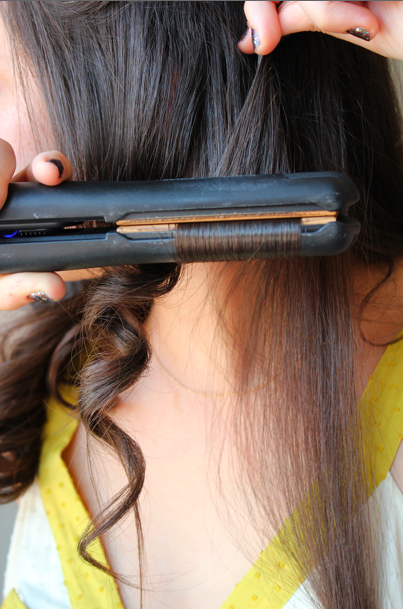
Tip 1: Once you flip the straightener, you might have to use your other hand to feed the rest of the strand through the flat iron to make sure it doesn't run off the heated plates.
Tip 2: The slower you drag the straightener down a strand, the tighter the curl will be.
Tip 3: Separate different sized strands for a more natural curled look.
Tip 2: The slower you drag the straightener down a strand, the tighter the curl will be.
Tip 3: Separate different sized strands for a more natural curled look.
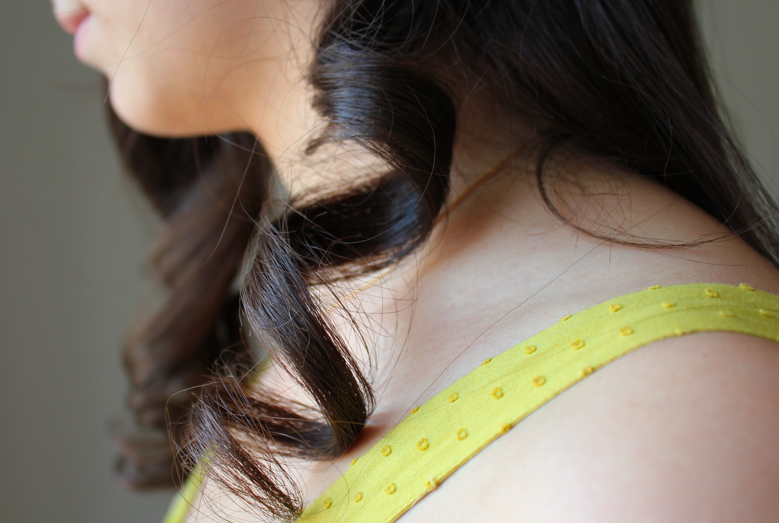
Repeat on your whole head, and you'll be left with loose curls.
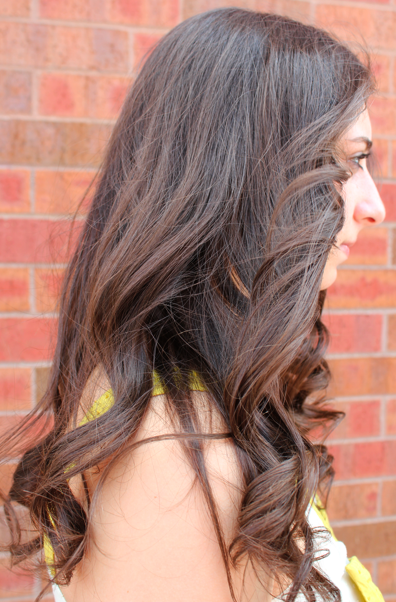
I like this option because I only need one tool to produce multiple styles. Next time you need to dress up an outfit, consider using your straightener for these loose curls.
-E
-E